We often get requests to add front end uploading for image files to MaxGalleria, and we’re excited to announce it’s finally here!
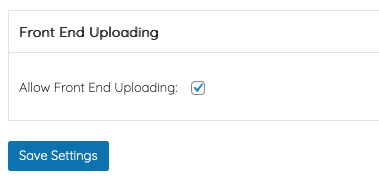
To enable front end uploading, first go to your MaxGalleria Pro Settings and check the box “Allow Front End Uploading” and then save the settings.
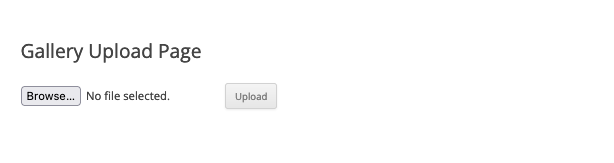
Edit the page on which you’d like to have frontend uploading enabled and add this shortcode:
[mg-image-file-upload folder_path=”” display_image=”1″ gallery=””]
The shortcode has four parameters:
- folder_path the path to folder where you want to store the gallery images, example, “example-site/https_docs/example.com/wp-content/uploads/2024/05”. You may need to use your site’s file manager to get the path to your destination folder. Note, the folder path is different than the URL. A URL start with ‘http’ or ‘https’ and will not work for the folder_path parameter.
- display_image – “1” to display the uploaded image or “0” for no display.
- file_types – by default, only images file types are allowed. If not included, all WordPress image file types are allowed. To restrict file types, create a comma separated list of allowed file types, file_types=”jpg, png, webp”
- gallery – The ID number of the destination gallery; the gallery ID number can be found by looking at the link of the edit page of a gallery, which will like this this: example.com/wp-admin/post.php?post=432&action=edit. The number that comes after the ‘post=’ is the ID number of the gallery.
Here is an example of a complete shortcode:
[mg-image-file-upload folder_path=”example-site/https_docs/example.com/wp-content/uploads/2024/05″ display_image=”0″ gallery=”432″]
In this example, uploaded images will be added to the gallery with the ID of 432 and stored in uploads/2024/05 folder.
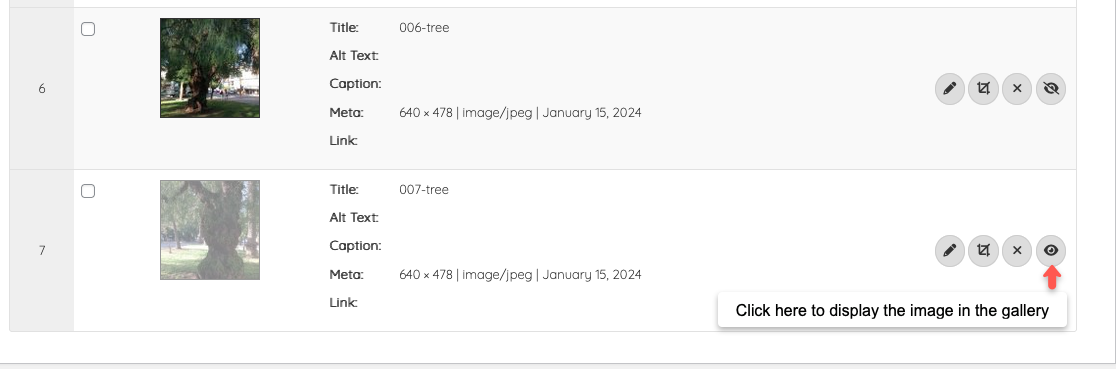
When images are added to a gallery, they are automatically excluded from being displayed. A site administrator needs to open the gallery page and change the status of excluded images for them to be displayed on the front end of the site.
You can update directly through your WordPress Dashboard under plugins. If an update is not available you’ll need to log in to your account, renew any licenses where required and then recheck for the update in WordPress.