MaxGalleria Facebook – QuickStart

INDEX

QUICKSTART GUIDE

Authorizing Facebook

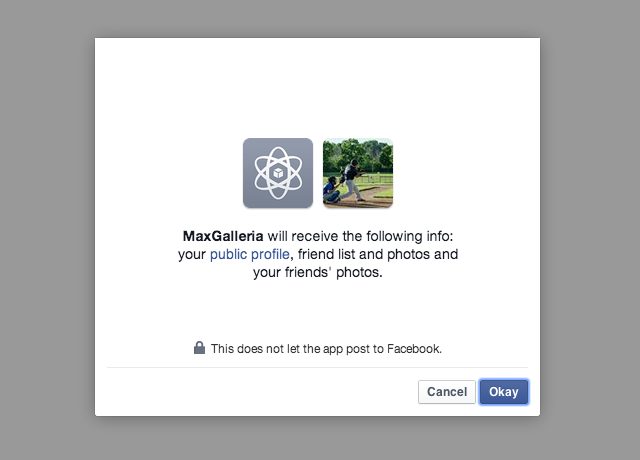
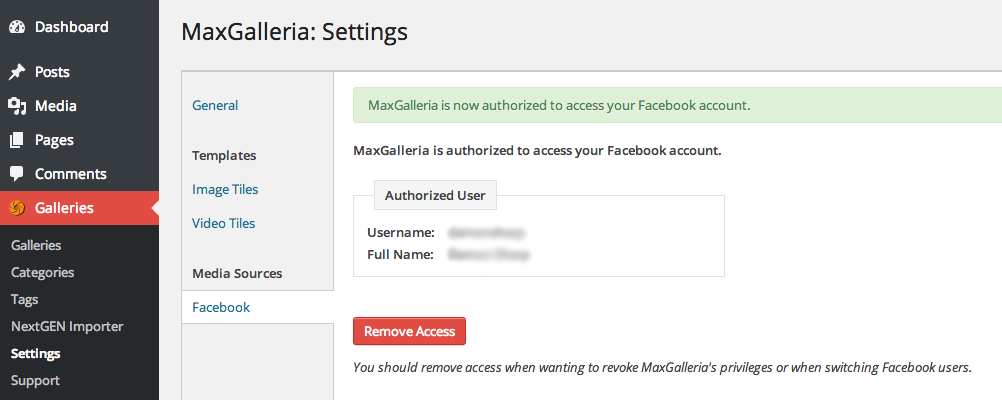
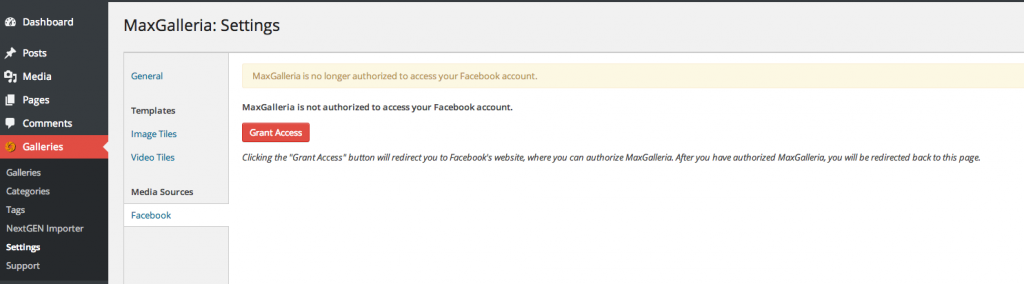
The Facebook addon is now included with MaxGalleria Pro and no additional installations are necessary. NB: Support for our individual addons will no longer be available from the 1st May 2022.

  • Once the plugin has been installed and activated, go to Galleries > Settings using the menu on the left side of the WordPress admin.
  • Under “Media Sources” on the left side of the page, click “Facebook”.
  • Click the “Grant Access” button. When you click this button one of four things will occur:
  1. If you are already logged in to your Facebook account and have not granted access to the plugin in the past, you’ll be redirected to a Facebook page allowing you to grant access. Clicking “Okay” will return you to the Facebook settings page with a message that you’ve successfully authorized the plugin to access your account.
  2. If you are not already logged in to your Facebook account and have not granted access to the plugin in the past, you’ll be redirected to a Facebook login page. Once logged in you will be redirected to another page allowing you to grant access. Clicking “Okay” will return you to the Facebook settings page with a message that you’ve successfully authorized the plugin to access your account.
  3. If you are already logged in to your Facebook account and have granted access to the plugin in the past, you’ll be redirected back to the Facebook plugin’s settings page with a message that you’ve successfully authorized the plugin to access your account.
  4. If you are not already logged in to your Facebook account but have granted access to the plugin in the past, you’ll be redirected to a Facebook login page. Once logged in you will be redirected back to the Facebook plugin’s settings page with a message that you’ve successfully authorized the plugin to access your account.

Revoking Plugin Access/Switching Accounts:

  • Navigate to the Galleries > Settings page and click “Facebook” on the left side of the page.
  • Click the “Remove Access” button.
  • You should see a message stating that “MAXGalleria is no longer authorized to access your Facebook account.”
  • You can now re-authorize with another account.

Adding Facebook Images to a Gallery

  • If not already authorized, complete the Authorizing Facebook step above first.
  • Choose a gallery from the Galleries page or create a new gallery by clicking Galleries > Add New.
  • Click the Add Images button.
  • In the resulting media manager popup click Facebook in the left pane. Thumbnails of up to the first 20 images from your Facebook account should be visible.
  • If you have not yet authorized the plugin to access your Facebook account a notice to do so will be shown here instead.
  • Click the image or the checkbox below the image to select it. Choose as many as you would like. To view the next 20 in your Facebook account click the “Load More” button.
  • Once you’ve selected all the images you would like to add to the gallery click the “Add to Gallery” button. Be patient as this might take awhile depending on the number of images selected.
  • Once complete you should be taken back to the gallery page where you can customize and publish your gallery.
  • To add the gallery to a page or post copy/paste the shortcode provided.

MaxGalleria Facebook Data Deletion Instructions

If you wish to remove the Facebook images from your WordPress site, you will need to

1. Open the Media Library page and delete the individual images downloaded from Facebook

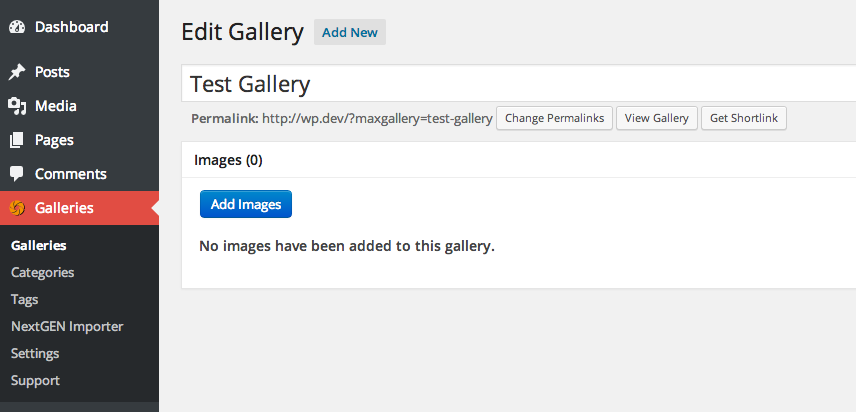
2. If you no longer need the galleries that displayed the images, you can open MaxGalleria and delete the related galleries.

3. Finally, the MaxGalleria Facebook plugin can be deactivated and deleted from your site.

HOOKS

Actions