WordPress Albums for Galleries with MaxGalleria Albums Addon
The MaxGalleria Albums addon lets you group together different galleries that you’ve created with the free MaxGalleria plugin. You can then display those galleries in one album as a grid or a list and further customize a number of display settings.
In this article, we’ll show you how to create albums on your WordPress site using the MaxGalleria Albums addon. Then, we’ll go through some common tips and troubleshooting for MaxGalleria Albums.
How To Use The MaxGalleria Albums Addon
MaxGalleria Albums is an addon for the free MaxGalleria plugin, which means that you’ll need both MaxGalleria Albums and MaxGalleria installed in order to use the album functionality.
Because MaxGalleria Albums helps you create albums from existing galleries, you’ll also need to have already created some galleries with MaxGalleria. Otherwise, you’ll have nothing to put in your albums!
Once you have both plugins installed and activated, as well as some existing galleries, you’re ready to move on.
Step 1: Create A New Album
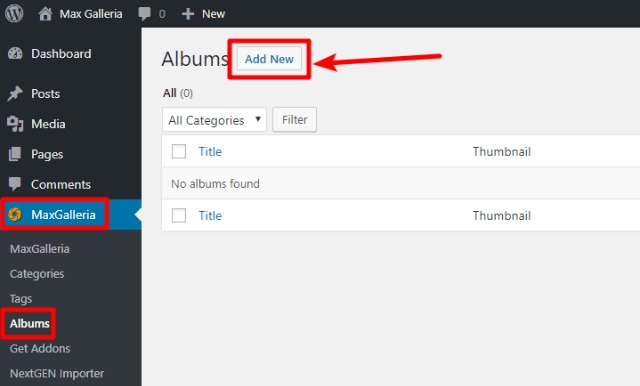
To create a new album, go to MaxGalleria → Albums → Add New:
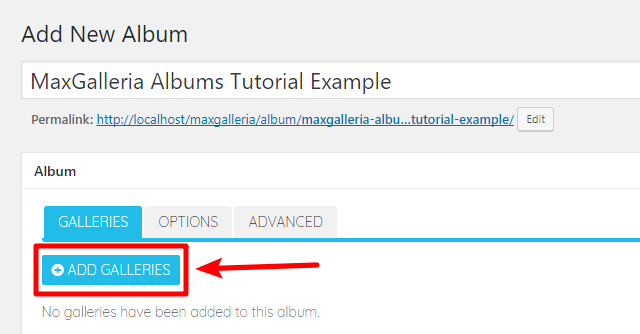
On the next screen, you can give your new album a title.
Step 2: Choose Galleries To Display In Album
Next, you’ll need to choose which galleries to display in your album. To do that, click the +ADD GALLERIES button:
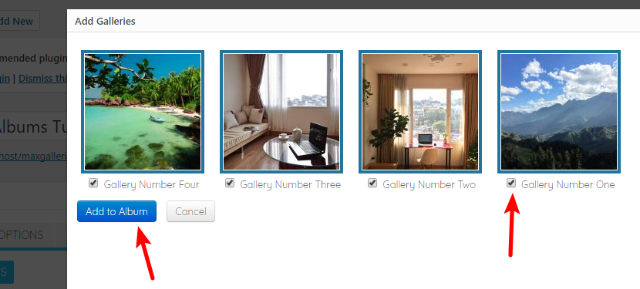
You should see a popup that contains all of the galleries that you’ve already created with the MaxGalleria plugin. Use the checkboxes to select your desired galleries (we’ll select all four galleries for our example).
Then, click Add to Album:
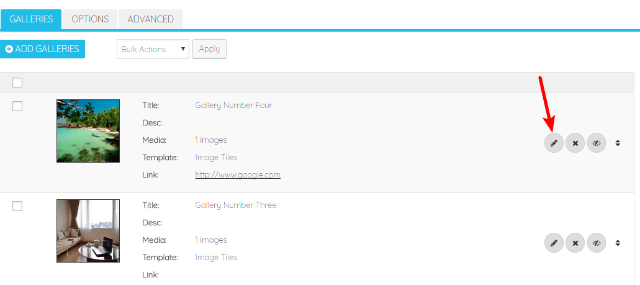
Then, you should see a list of all the galleries that you chose. If needed, you can use the buttons to edit your galleries’ metadata, remove/hide a gallery, and/or reorder your galleries using drag and drop:

Once you’re happy with how things look, you’re ready to move to the next step.
Step 3: Configure Gallery Settings
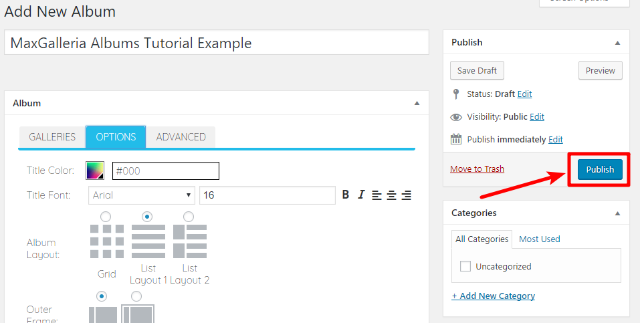
Next up, you can configure how your album looks and functions in the OPTIONS tab:
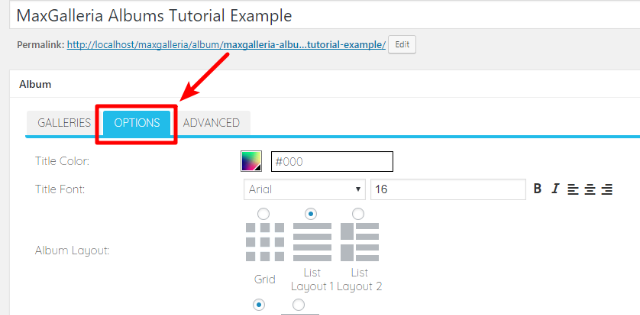
Here is what the various settings mean:
- Title Color – the color for your album’s title text
- Title Font – the font for your album’s title text.
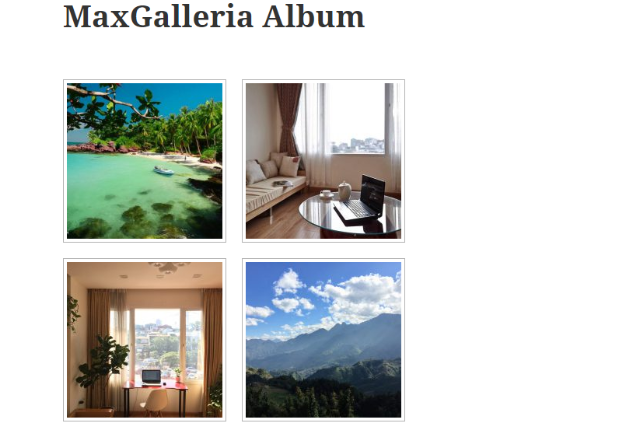
- Album Layout – this determines how your album displays each individual gallery inside. You can choose from one grid layout or two list layout styles. For example, here’s how the Grid layout looks:
For the List layouts, you’ll also be able to configure an outer frame that displays around each individual gallery.
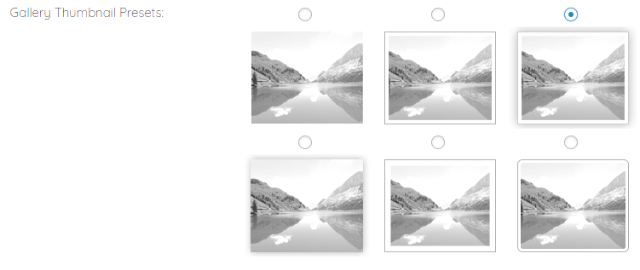
After that, you can choose from the Gallery Thumbnail Presets. These allow to quickly add stylish borders, shadows, or frames:
For example, here’s how that same grid album layout looks with the Drop Shadow preset:

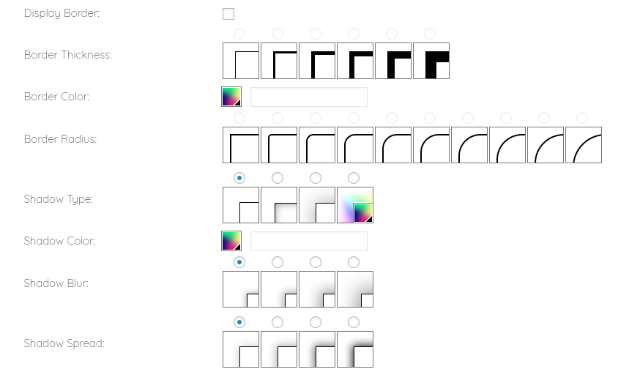
You can also manually configure borders and shadow using the next set of options:
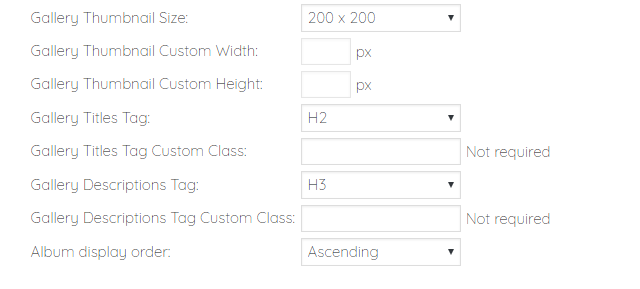
Finally, at the bottom you can configure:
- Gallery Thumbnail Size – the size of each gallery’s thumbnail in the album listing. You can choose from one of the predefined sizes or use your own custom dimensions.
- Gallery Titles Tag – choose from the various heading tags or choose a <div>, <p>, or <span> tag
- Gallery Titles Tag Custom Class – if desired, you can add a custom CSS class here for more control over styling
- Gallery Descriptions Tag and Custom Class – perform identical functions as above but for each gallery’s description.
- Album display order – choose whether to display galleries in ascending or descending order
Step 4: Publish Your Album
Once you’ve finished configuring the various settings, you’re ready to publish your album by clicking the Publish button on the right side of your screen:
Step 5: Display Your Album Using Shortcode
Once you’ve published your album, you can display it anywhere on your WordPress site using the provided shortcode:
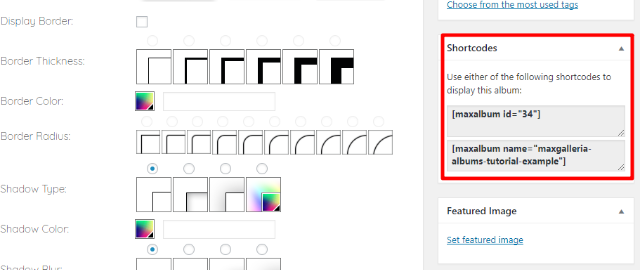
Your album will also be available at yoursite.com/maxgalleria/album/*album-name*.
Troubleshooting Common Issues For MaxGalleria Albums Addon
How To Change Where Gallery Thumbnail Links
By default, the gallery thumbnails that MaxGalleria Albums creates will link to the gallery permalink. But if you’re displaying your galleries on a separate page via the shortcode, you might want to link directly to that page instead of the default gallery listing.
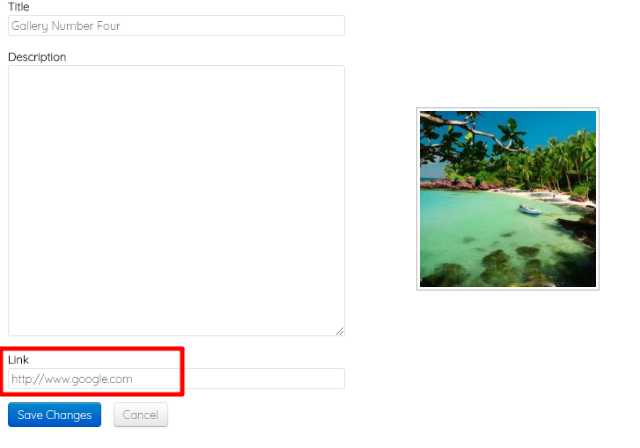
To do that, go to the Edit Album interface and click the Pencil icon next to the gallery you want to change the link for:
Then, enter the location where you want the gallery thumbnail to link in the Link box:
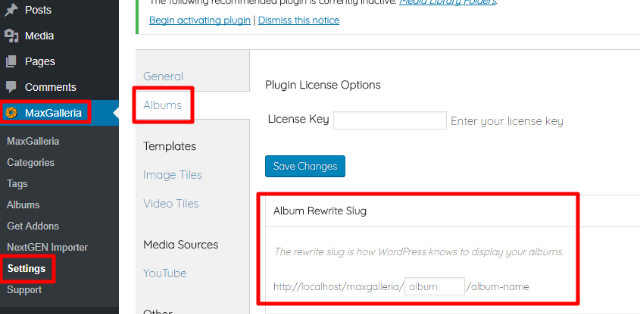
How To Change The Album URL Slug
Most of the time, you’ll insert your album in an existing page using the shortcode. But MaxGalleria also creates a standalone album page using the following default URL structure:
yoursite.com/maxgalleria/album/*album-name*
If desired, you can change the album slug by going to MaxGalleria → Settings → Albums:
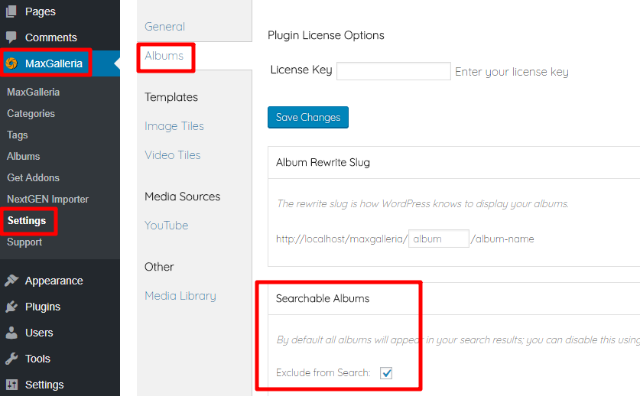
How To Exclude Albums From WordPress Search Results
By default, your albums will appear in search results on your site. To disable this functionality, go to MaxGalleria → Settings → Albums and check the box to Exclude from Search:
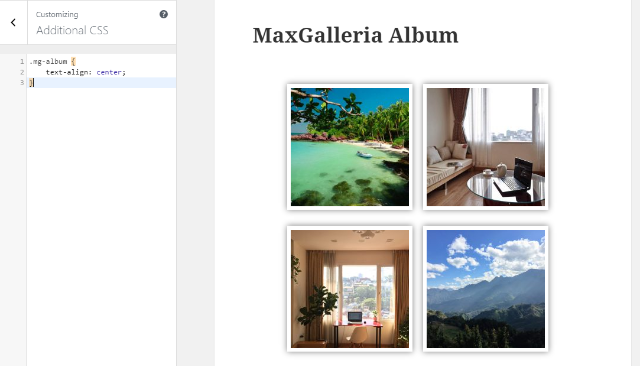
How To Center Align Gallery Thumbnails
By default, MaxGalleria albums are left-aligned. If you’d prefer to have them center-aligned, you can add the following CSS snippet to the WordPress Customizer (Appearance → Customize → Additional CSS):
.mg-album {
 text-align: center;
 }
And that wraps up our guide on how to use the MaxGalleria Albums addon for MaxGalleria.